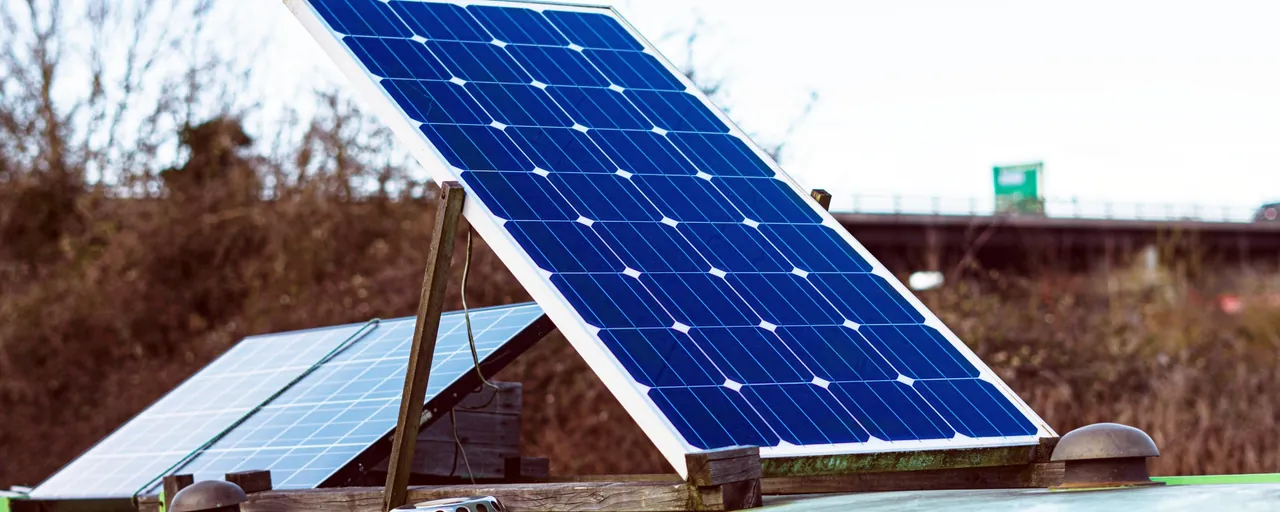
DIY Solar Panel Using Household Items
This project demonstrates how to create a simple solar panel using materials commonly found at home. It's an excellent way to understand the basics of solar energy conversion.
Materials Needed
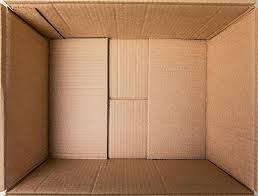
- Cardboard (e.g., from a cereal box)
- Aluminum foil
- Copper wire
- Insulated wire
- Soldering iron
- Scissors
- Glue
- Diode (1N4001 or similar)
- Small rechargeable battery (e.g., AA or 18650)
- Battery holder (optional)
- Small DC device (e.g., LED or fan)
Step-by-Step Instructions
1. Prepare the Cardboard Base
Cut the cardboard into a rectangle. This will serve as the base for your solar panel.
2. Apply Aluminum Foil
Glue aluminum foil onto the cardboard, ensuring it's smooth and wrinkle-free. Leave space at the edges for wire connections.

3. Attach Copper Wires
Solder copper wires to the aluminum foil at designated points. These will serve as the positive and negative terminals.
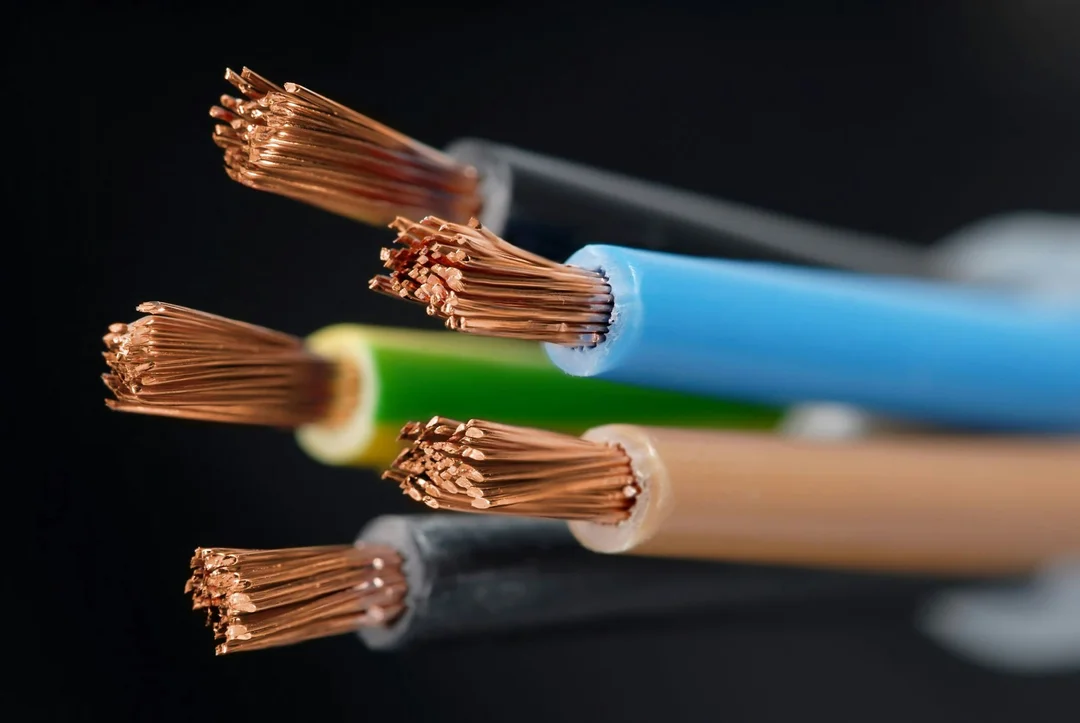
4. Connect Insulated Wires
Attach insulated wires to the copper wires. These will connect your solar panel to an external device or voltmeter.
5. Test the Panel
Place the panel in direct sunlight and measure the voltage using a voltmeter. You should observe a voltage reading, indicating the panel is generating electricity.
6. Add a Diode
Connect a diode in series with the positive wire coming from the panel. This prevents the battery from discharging back into the panel at night.
7. Connect a Rechargeable Battery
Attach the wires from your solar panel (through the diode) to a rechargeable battery. Make sure the polarity is correct: positive to positive, negative to negative. Use a battery holder for safety.
8. Power a Small Device
Now you can connect a small device (like an LED or mini fan) to the battery. The energy stored from the sun will power your gadget.